Project Charter Assignment 1
Assignment 1 Title: Printout Postcard for the theme “Malaysia, Truly Asia”.
Project Start Date: 20 November, 2008.
Project Finish Date: 28 November, 2008.
Project Manager: Abu Suffian b. Abu
HP: 0122838662
Email: mcg1024.1081106146@gmail.com
Website: http://mcg1024-1081106146.blogspot.com
Project Objective:
Students are to create a multi-cultural event for a post card. The theme would be “Malaysia, Truly Asia” which is the official slogan for Malaysia Tourism. Students are to show the multi-cultural aspects of Malaysia culture or life as a positive feature to attract tourist into this country.
Approach:
Write down how you create the postcard?
Adobe Photoshop is the best software to all people who want to learn,improve and make some experimentation and play with their imagination on pictures. Adobe Photoshop CS2 is my place to learn and show my skills.
Using what images?
I used my own images in my portfolio and combined with the high resolution images that I took in website and some of cool photoblog.
What tools at Photoshop you use to edit the images?
Some basic tool : crop,lasso,clone stamp,eraser,burn,gradient map, and horizontal type tool.
Favourite touch up : curves,hue/saturation,levels and color balance.
Write here about the idea of your postcard.
This assignment really give me a golden chance to learn and show my skills and some technique that I learn in the tutorial class. I used my own idea and mix up with some idea that I found in the internet.To make the postcard look like a professional design, I made a research through internet and go to tourism malaysia official website.
Roles and Responsibilities:
1-Understand the title of the assignment 1.
2-Make some research about Malaysia Truly Asia
 http://www.tourism.gov.my/
3-Find and search the cool picture of the Malaysia Truly Asia
 pictures from my photoblog
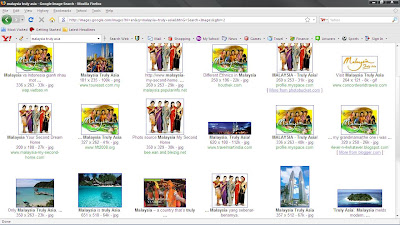 pictures from website
5-Consult with tutor & try to improve and make a last touch up
* Before i start my assignment 1, i did the sample of the assignment 1 by my own. After i done 60% of my assignment, i show my sample to Mdm Lydia to know either my sample is 'OK' or need some adjustment. After consult, she said that one of the picture that i used i as a background in the sample is not match with the theme. So, i decided to change the picture and still stick and maintain of my idea in this postcard.
Original/First IDEA
 peace of Malaysia
60% of my work in this cool postcard

 Below are the 80% progress of new my postcard :

Wait for the new face of my postcard! huhu,
6-Print out the postcard
7-Submit the Assignment
Comment: I enjoy using Photoshop to completed my assignment. I also happy because i can come out with my own idea and can show my own pictures as my artwork in this assignment. The main reason i want to use my own picture because, i love the color of the picture and the two picture that i used in this assignment is the best picture in my portfolio. Thank to Mdm Lydia who gave me the nice and cool comment about my first idea.
 My Postcard
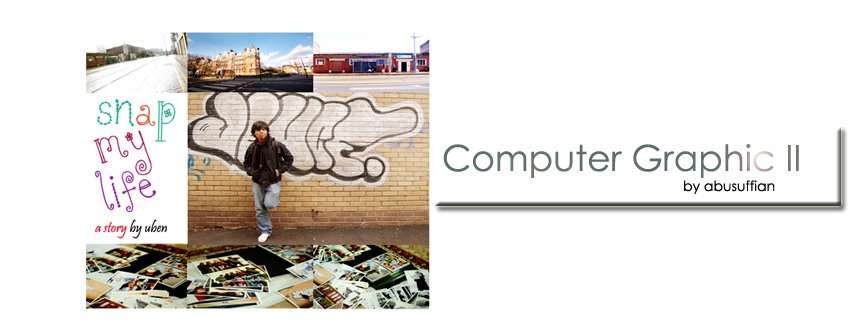
 My first idea
 Join this two picture. Click eraser tool then erase the picture make it like this :
 Then, i create the stroke of this picture. With this border, the picture will look more neat. i choose white.


 http://www.tourism.gov.my/
 pictures from my photoblog
 pictures from website
 peace of Malaysia

 Below are the 80% progress of new my postcard :


 The lucky picture ;)


 by using the same technique, i choose black to change the color of the jeans.In this layer, i change from the normal layer to softlight.


 WOW! nice one. huhu, i erased this part because i want to create the original mood from the original picture.
 The end result of my tutorial exercise.


 My Starfish Fantasy


 This is my final result in my tutorial 1.